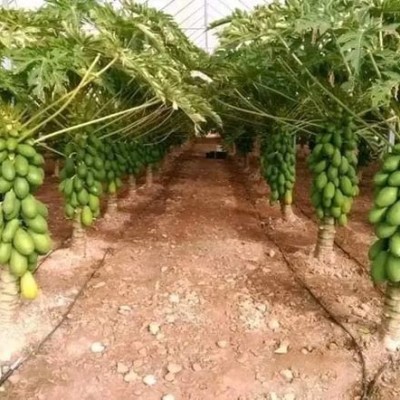
Ignoring Pruning in Pawpaw
Pruning is important because it helps establish and maintain an open and balanced canopy structure for pawpaw plants. This encourages even sunlight penetration and air circulation throughout the canopy, which is essential for optimal growth and fruit development. A well-pruned pawpaw tree is less likely to become top-heavy or bushy, reducing the risk of branches breaking under the weight of fruit or in strong winds.
Secondly, pruning aids in disease and pest control. Properly pruned pawpaw plants are easier to inspect for signs of disease or pest infestations. An open canopy allows better visibility, making it simpler to detect and address problems early. Additionally, good air circulation reduces humidity within the canopy, which can deter the development of fungal diseases.
Furthermore, pruning can stimulate the production of more and larger fruits. By removing excess branches and growth, the plant can allocate more energy and nutrients to the remaining fruit-bearing branches, resulting in better fruit quality and yield. Pruning also helps reduce the competition among fruits for sunlight and nutrients.
Additionally, pawpaw plants often produce more flowers and fruit than they can support. Pruning allows you to thin out excess fruit, preventing the plant from overburdening itself. Thinning ensures that the remaining fruits have enough space and resources to develop properly, resulting in larger, higher-quality fruits.
Pruning also helps prevent and manage disease. Some pawpaw diseases, such as black spot, can be reduced by pruning away infected branches and leaves promptly. Pruning removes disease-prone material, limiting the spread of pathogens and promoting plant health.
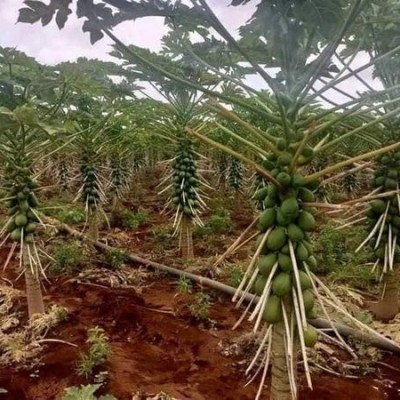
Furthermore, over time, older branches on pawpaw plants may become less productive. Pruning can rejuvenate the plant by removing older, less productive branches and encouraging the growth of new, more vigorous ones.
Moreover, pawpaw plants can grow quite large if left unpruned. Pruning helps manage the size of the plant, making it more suitable for the available growing space. This is particularly important in small-scale or home gardens where space is limited