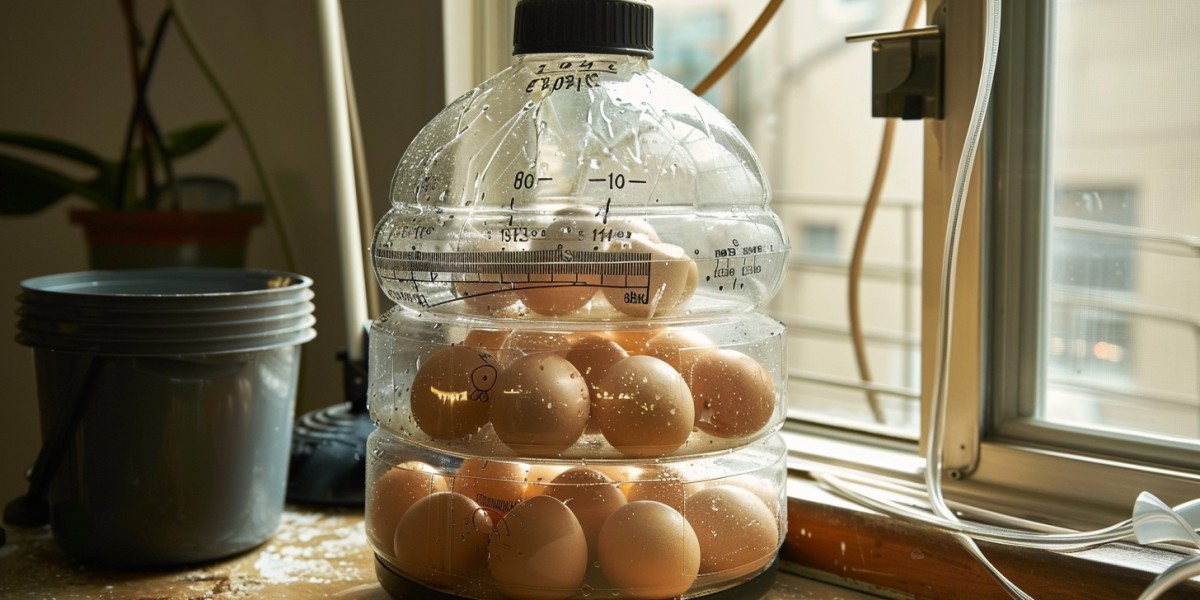
Hatching eggs at home can be an exciting and rewarding experience, whether you’re raising chickens, ducks, or other poultry. While commercial egg incubators are available, they can be expensive and may not always fit everyone’s budget. Fortunately, with some creativity and basic materials, you can craft your own egg incubator from a recycled water bottle. In this article, we’ll guide you through the step-by-step process of creating a simple and sustainable egg incubator, perfect for hatchling enthusiasts of all ages.
- Gather Your Materials:
- To begin, gather the following materials:
- 1 large, clear plastic water bottle
- Incandescent light bulb or heat source
- Aluminum foil or reflective tape
- Thermometer
- Marker
- Utility knife or scissors
- Tape or glue
- Small dish or container for water
- Prepare the Water Bottle:
- Start by thoroughly cleaning and drying the plastic water bottle. Remove any labels or stickers, and ensure that the bottle is completely dry before proceeding. Using a marker, draw a line around the bottle, approximately halfway between the base and the neck. This will be the cut line for creating the top and bottom halves of the incubator.
- Cut the Water Bottle:
- Carefully cut the water bottle along the marked line using a utility knife or scissors. Take your time to ensure a clean and even cut. You will now have two halves: the bottom half, which will serve as the base of the incubator, and the top half, which will act as the lid.
- Create Ventilation Holes:
- Using a small nail or the tip of a utility knife, poke several small holes around the top edge of the bottom half of the water bottle. These holes will provide ventilation for the eggs during the incubation process, allowing for proper airflow.

- Install the Heat Source:
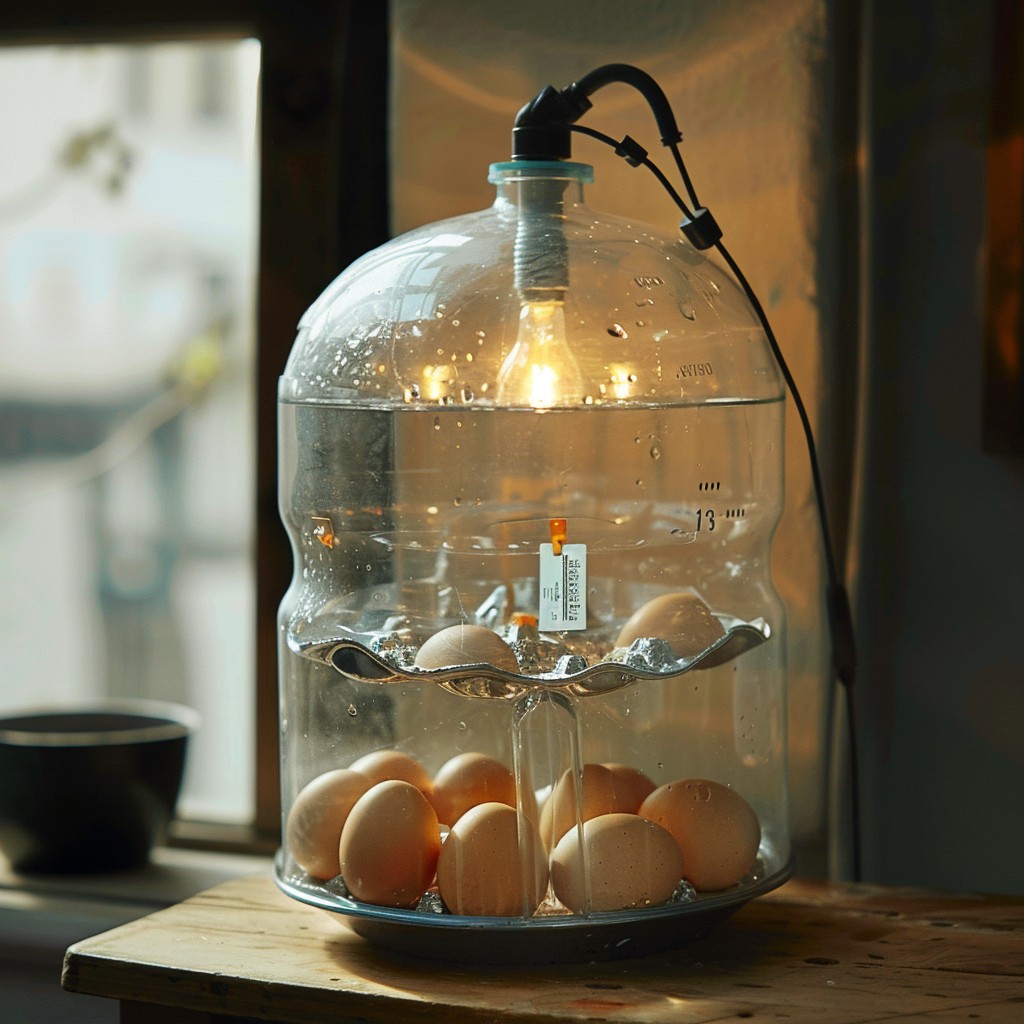
- Next, determine the type of heat source you will use to regulate the temperature inside the incubator. An incandescent light bulb works well for this purpose, as it emits gentle heat. Place the heat source inside the bottom half of the water bottle, positioning it towards one side to create a warm zone. Use tape or glue to secure the heat source in place.
- Add Reflective Lining:
- To help distribute and retain heat within the incubator, line the inside of the bottom half of the water bottle with aluminum foil or reflective tape. This will help reflect heat back towards the eggs, ensuring a consistent temperature throughout the incubation period.
- Insert Thermometer:
- Insert a thermometer into the incubator to monitor the temperature levels. Place the thermometer towards the center of the incubator, away from direct contact with the heat source. This will provide an accurate reading of the internal temperature.
- Assemble the Incubator:
- Carefully place the top half of the water bottle over the bottom half to create the incubator’s lid. Ensure that the two halves fit snugly together, with minimal gaps or openings. Use tape or glue to secure the lid in place, if necessary.
- Add Water Reservoir:
- Place a small dish or container filled with water inside the bottom half of the incubator. This will help maintain humidity levels within the incubator, essential for the proper development of the eggs.
- Test and Monitor:
- Before adding eggs to the incubator, test the temperature and humidity levels to ensure they are within the optimal range for hatching. Adjust the position of the heat source or water reservoir as needed to achieve the desired conditions. Once everything is set up, carefully add your eggs to the incubator and monitor their progress closely.
Conclusion:
Crafting your own egg incubator from a recycled water bottle is a fun and sustainable DIY project that allows you to hatch eggs at home with minimal cost and resources. By following the steps outlined in this guide and using basic materials, you can create a simple yet effective incubator that provides a warm and nurturing environment for developing embryos. Whether you’re a seasoned poultry enthusiast or a beginner looking to try your hand at hatching eggs, this homemade incubator is sure to bring joy and excitement to your hatchling adventures. Happy hatching!